Walkthrough
All walkthroughs are written using the internal declarative API (see org.jabref.gui.walkthrough.declarative) and are defined in the WalkthroughAction class. Each walkthrough is a linear series of steps, where each step is either a UI highlight (VisibleComponent) or an invisible side effect (WalkthroughSideEffect). The walkthroughs are built using a builder API (Walkthrough.Builder). To launch a walkthrough, simply construct a new WalkthroughAction and pass the name of the desired walkthrough.
The WalkthroughOverlay renderer takes the output of the declarative API (Walkthrough) and renders it for the user. At a high level, a walkthrough primarily highlights GUI elements (nodes in the scene graph).
The following step types are supported:
Highlights
Ring: Shows a small, accent-colored circle in the upper-right corner of the node to be highlighted.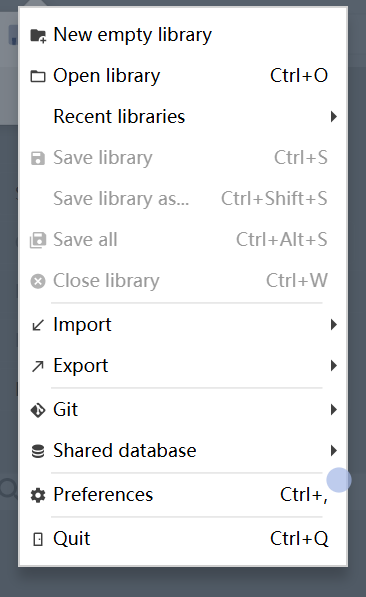
Spotlight: Highlights the node of interest by darkening the rest of the window.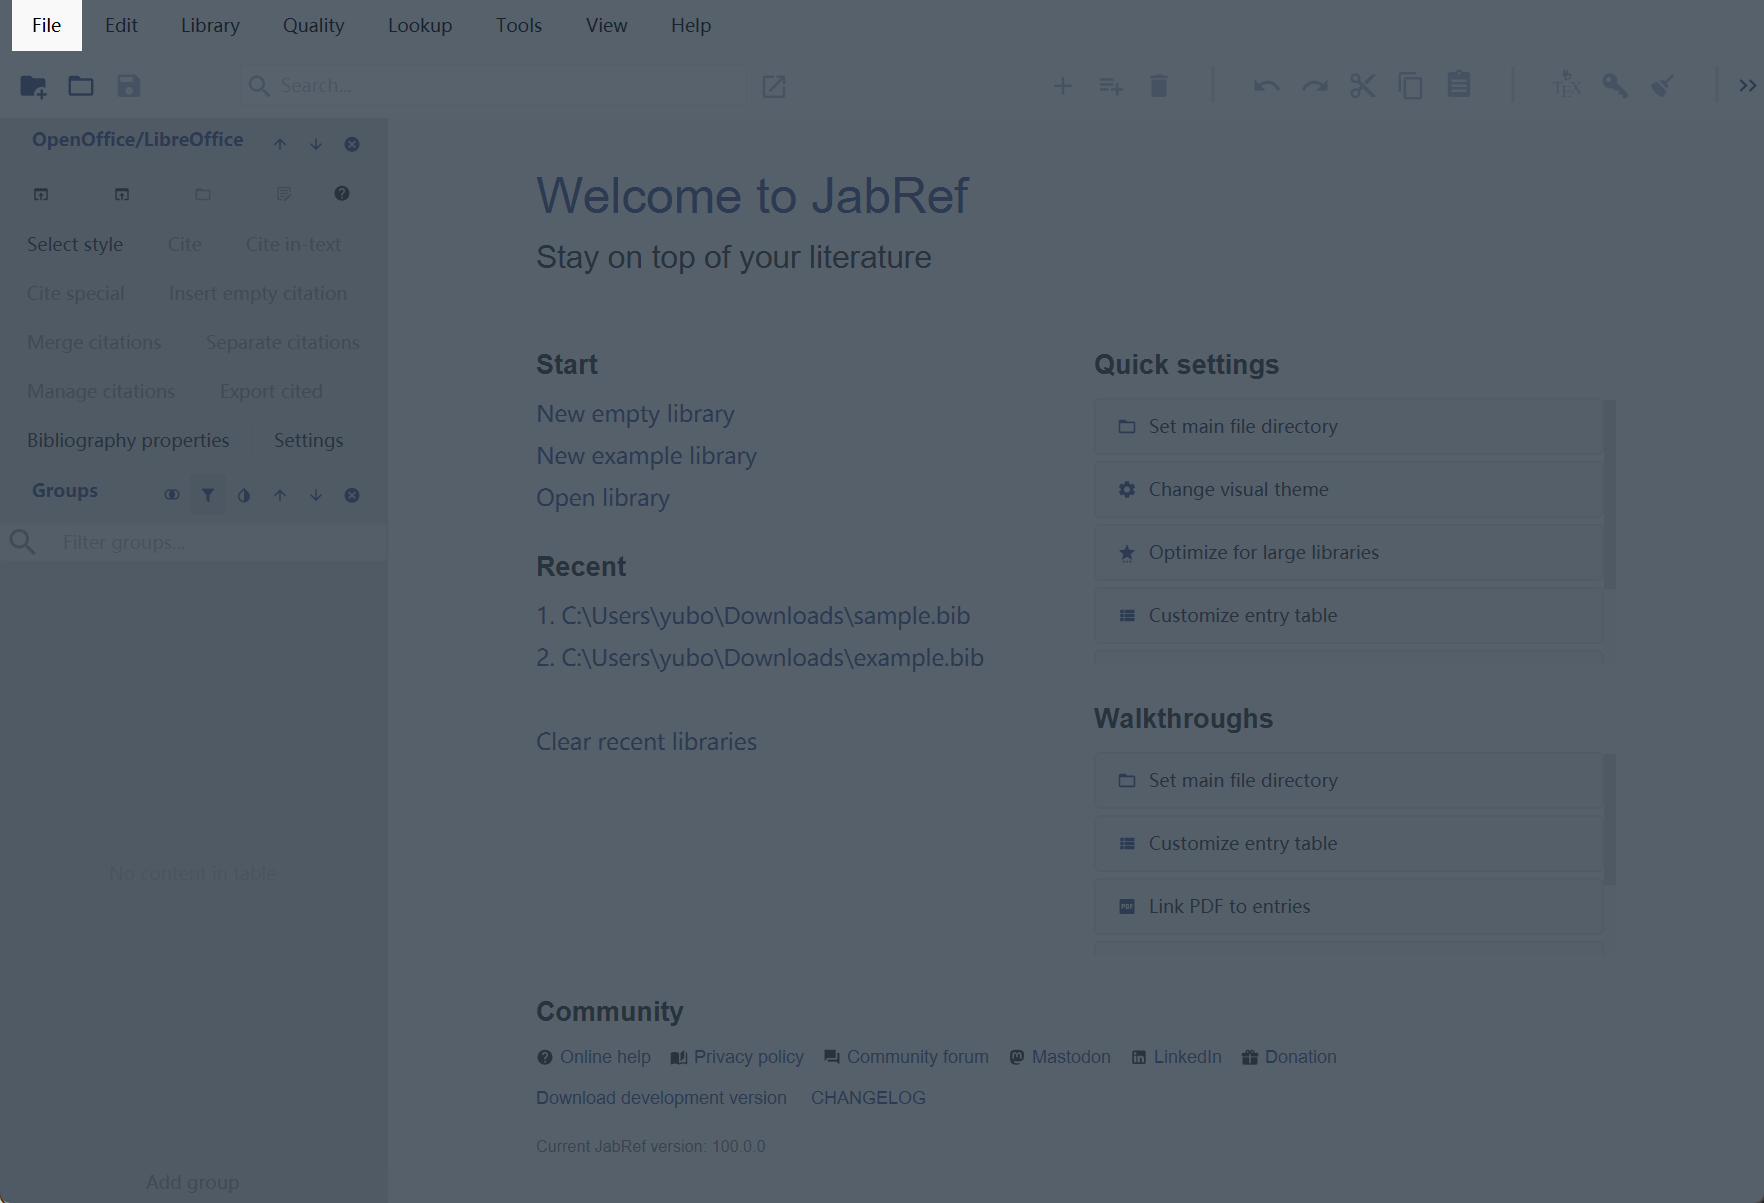
FullScreenDarken: Darkens the entire window, typically to display a panel in the center.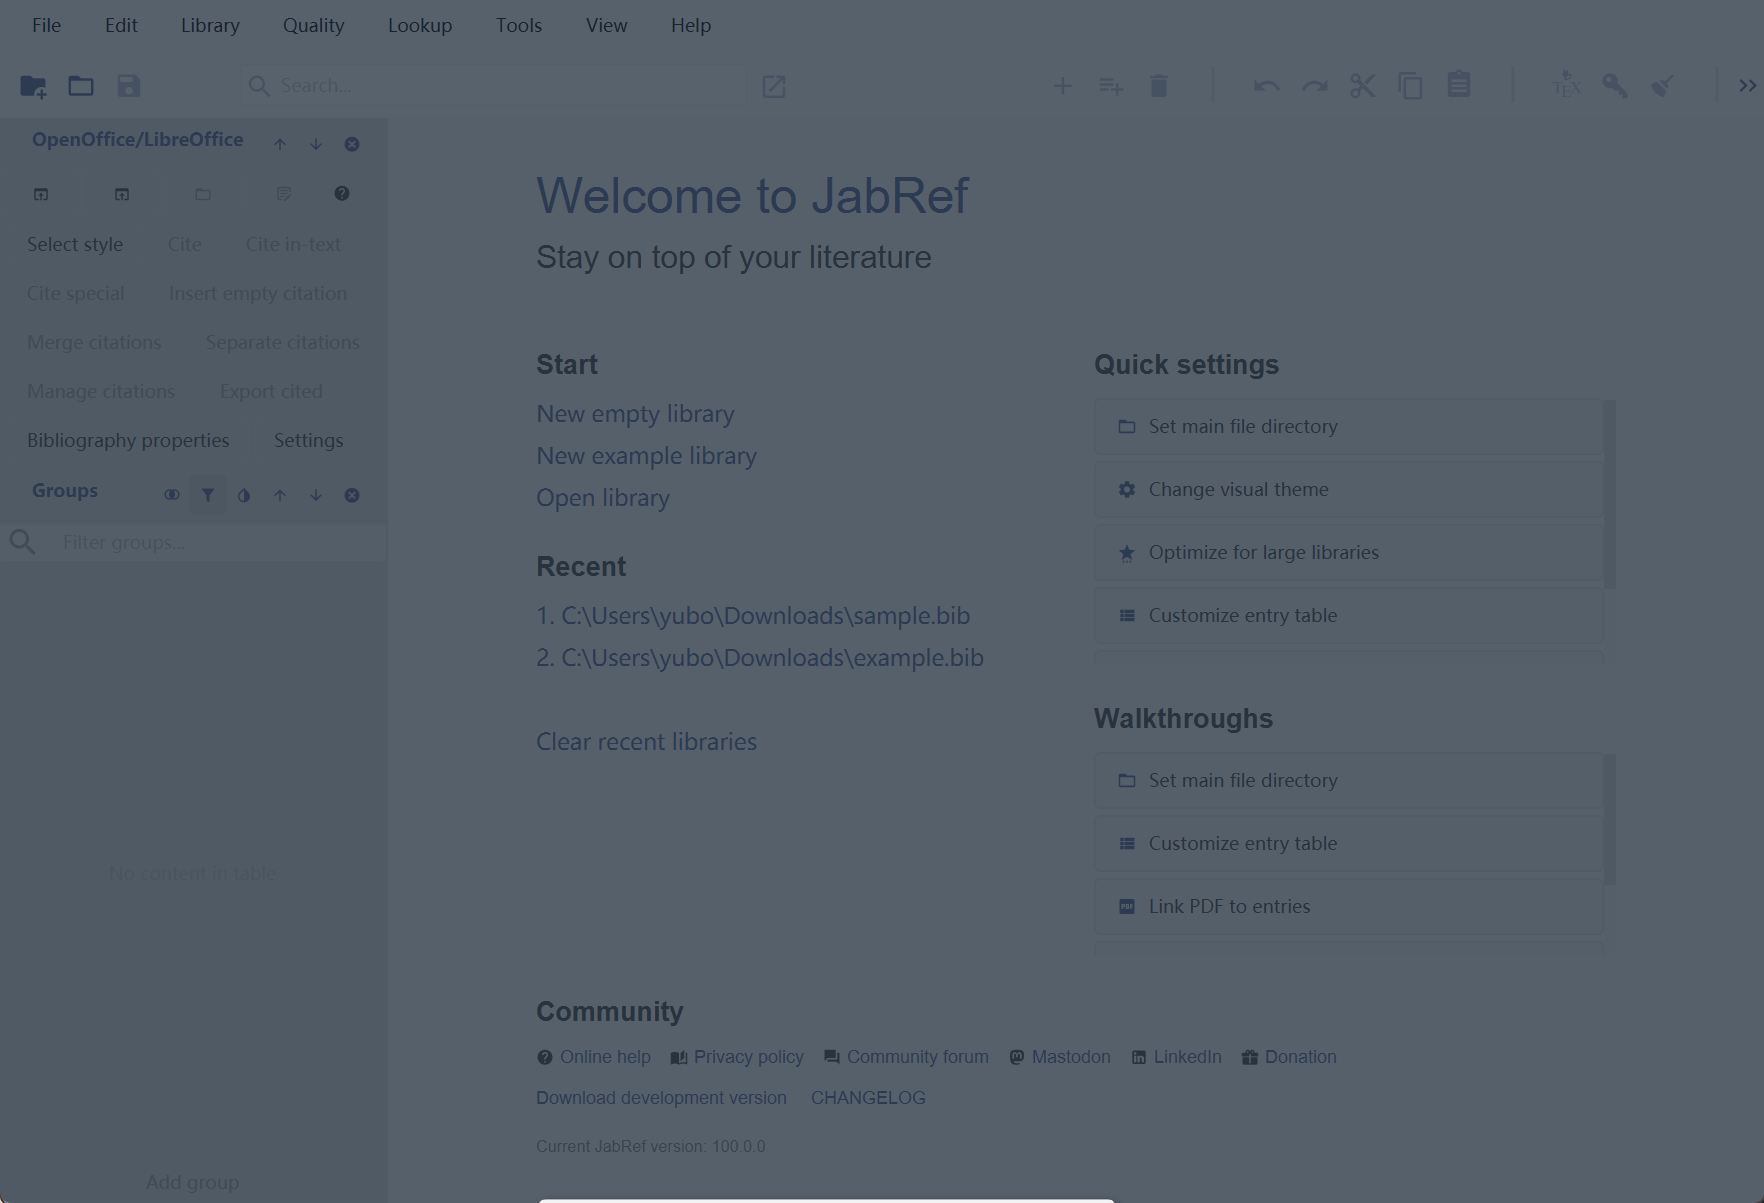
Visual Steps
TooltipStep: Shows a tooltip next to a specified node. This step must be associated with a node to display correctly.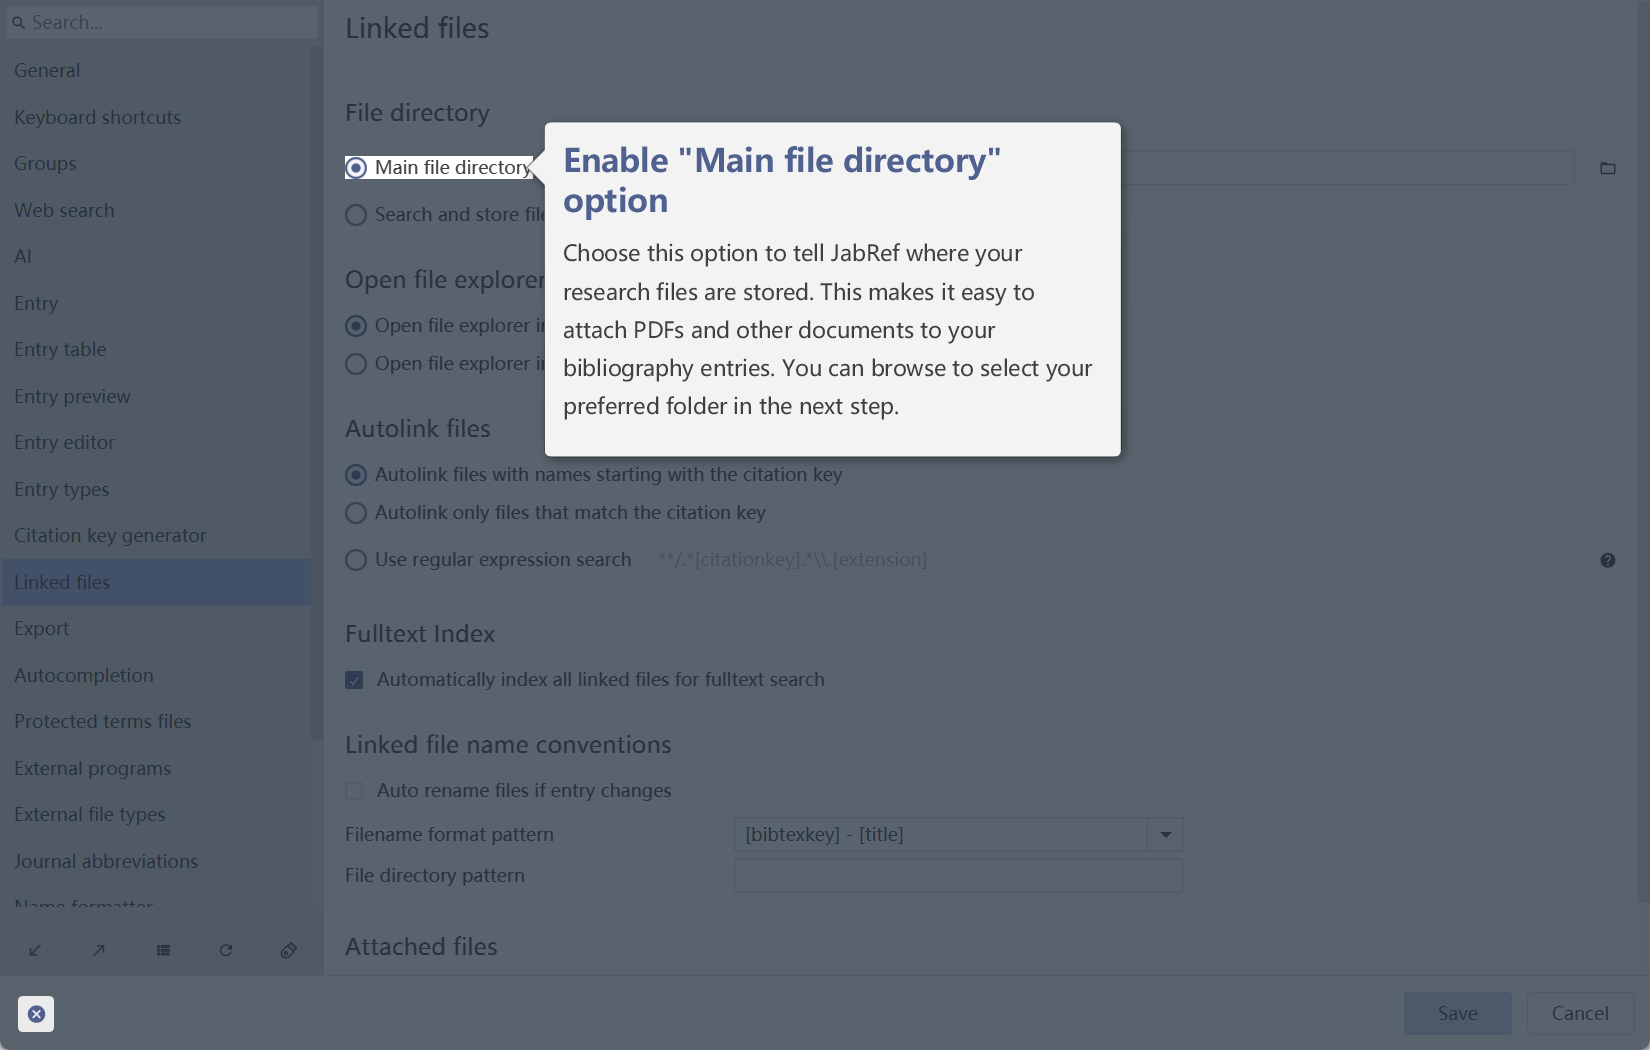
PanelStep: Shows a panel with rich text and info boxes on the top, left, bottom, or right of the screen.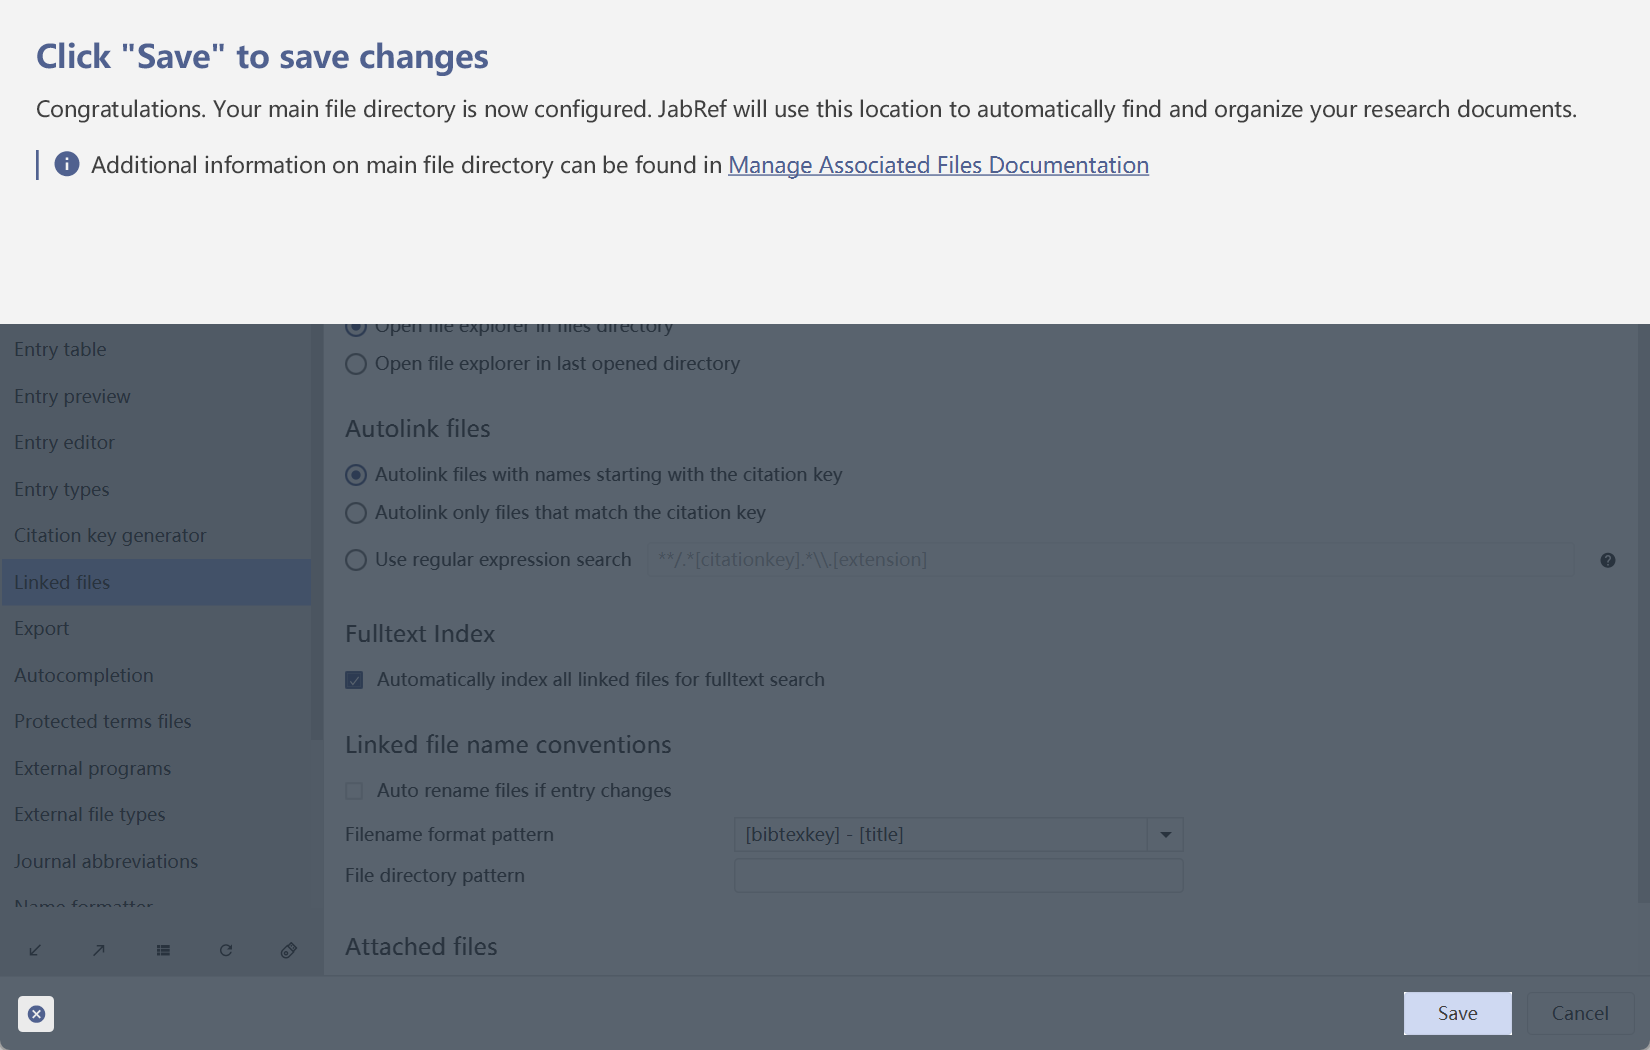
Where overlays are rendered
Every walkthrough overlay is drawn into the WalkthroughPane of the window it belongs to. That pane is a child of a parent the window already has, installed while the window is built and kept for the window’s lifetime:
- the main window adds one to its
PowerPane(JabRefGUI), - every dialog adds one to its
DialogPane(BaseDialog,FXDialog, and the input dialogs ofJabRefDialogService), - popups – context menus a walkthrough steps into – are not JabRef’s to build, so they are given one on the first lookup.
WalkthroughPane.of(Window) is how the walkthrough gets at the pane of the window it is working on.
Do not host an overlay by replacing the scene root. Three parties already claim that root: JavaFX’s Dialog reassigns it on every show and swaps in a placeholder on close, ControlsFX injects its DecorationPane on the first validation decoration, and an overlay wrapping it would be the third. Any two of them colliding drop the third’s contribution. Replacing the root of a visible window also invalidates the CSS of the whole scene graph and makes Scenic View re-attach from scratch, losing the selection of whoever is debugging.
Tooltips are the exception: a TooltipStep renders into a ControlsFX PopOver, which brings its own window and scene. The pane still carries that step’s quit button.
Side Effects
OpenLibrarySideEffect: Opens a specified example library.EnsureSearchSettingsSideEffect: Forces a search preference into a desired state.
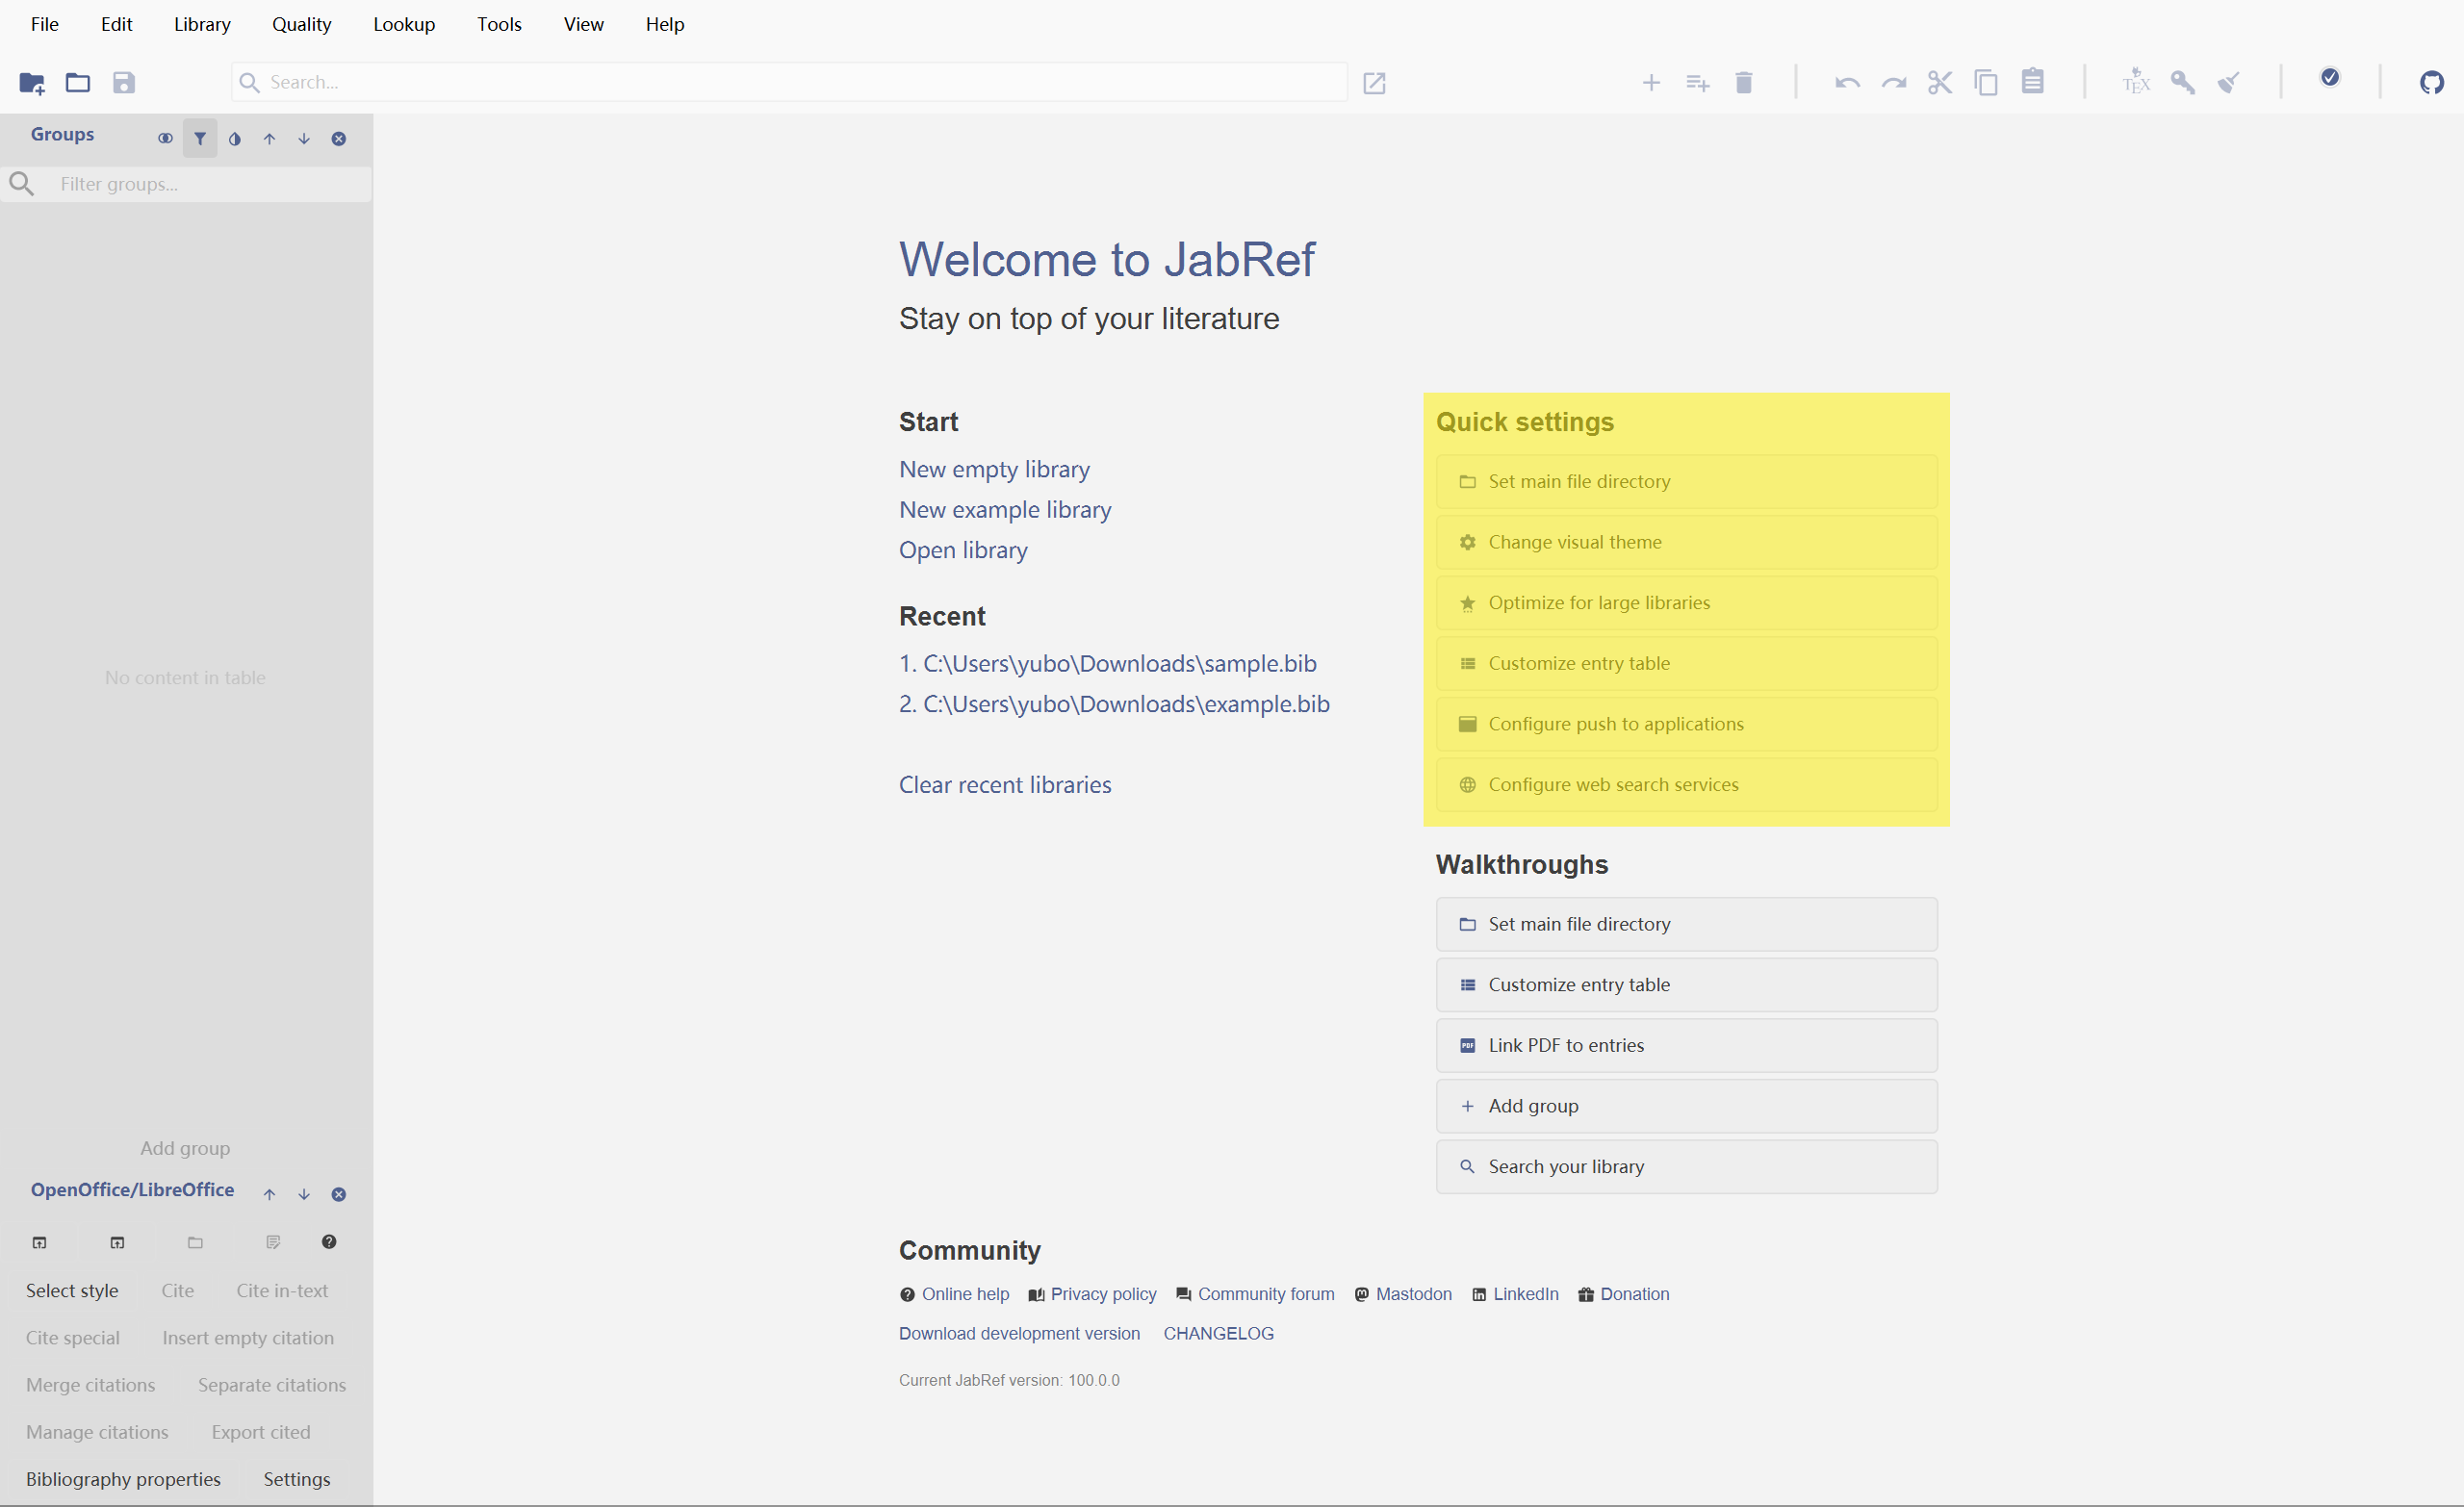
All walkthroughs are currently launched from the Walkthroughs component, which is located exclusively on the WelcomeTab.
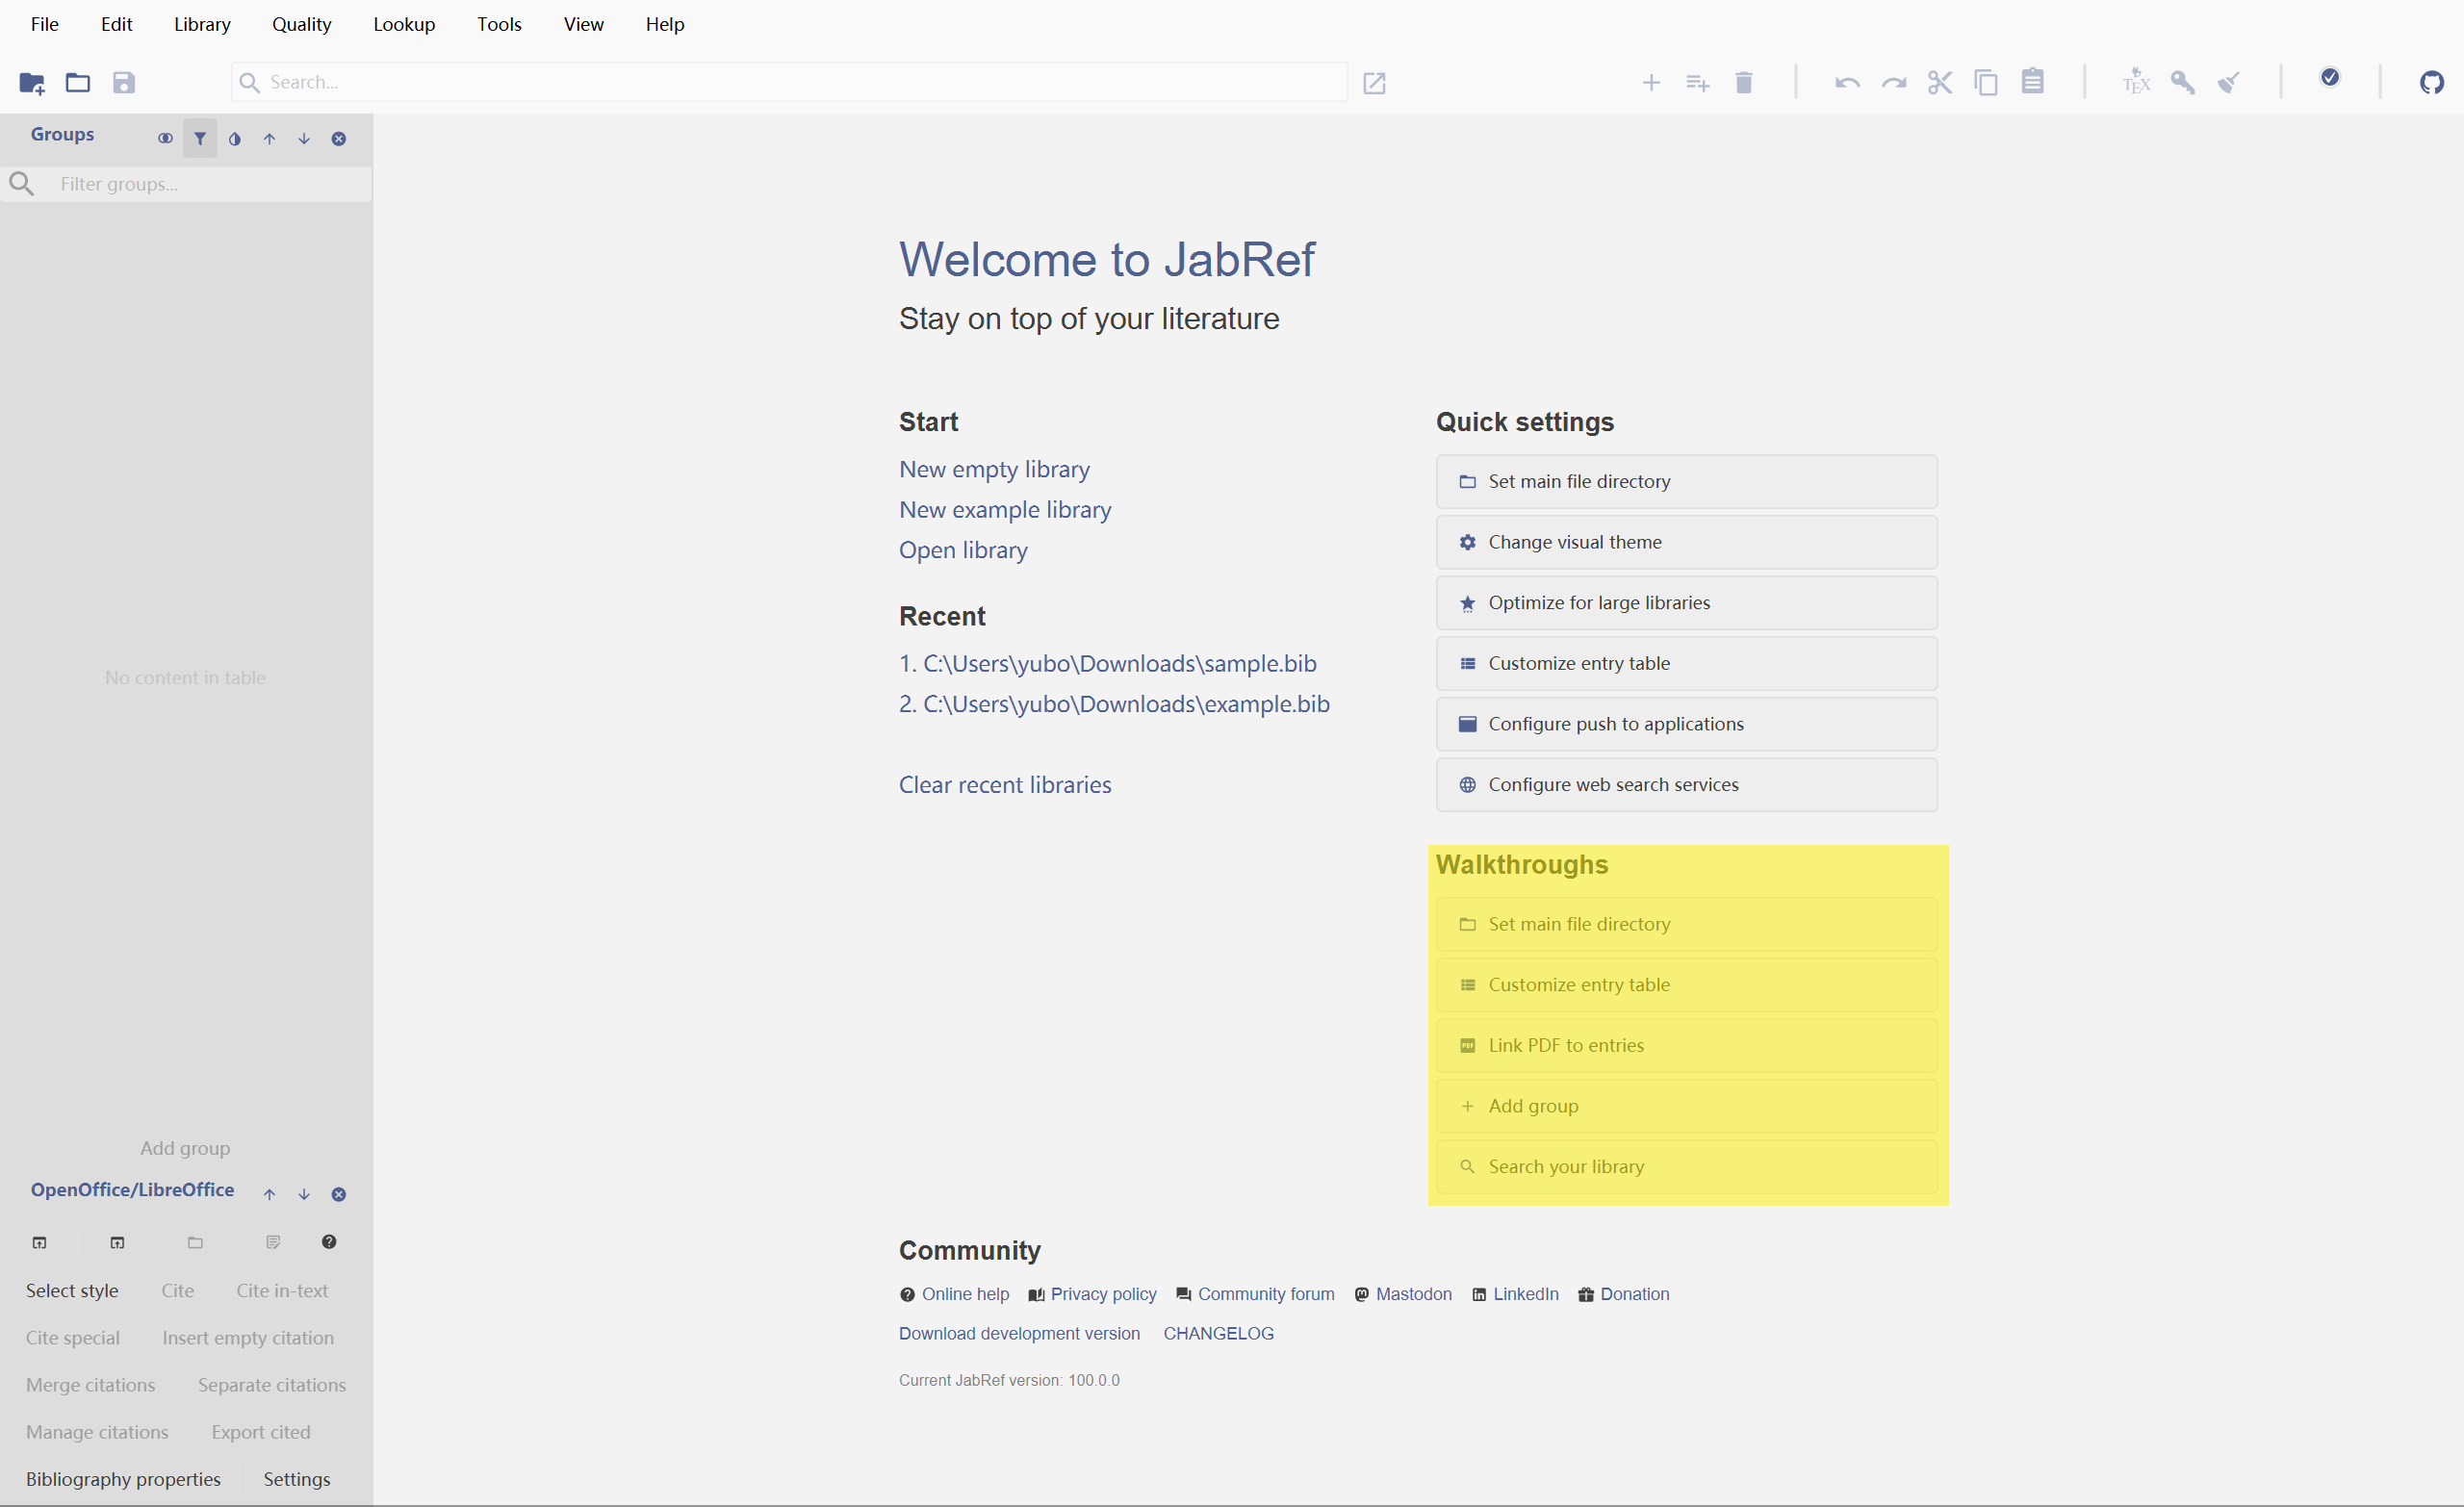
Quick Settings
Since walkthroughs are only supposed to highlight UI components and guide the user through JabRef, quick settings are create so as to provide a convenient entry point for the user to edit the common settings like theme, online services, and main file directory. All the quick settings items are present in the org.jabref.gui.welcome.components.QuickSettings component, which is visible in the WelcomeTab.