Advanced: Build and run using IntelliJ IDEA
Following is currently not possible due to IDEA-3733059.
We keep this page as basis for future work.
In “Step 2: Setup the build system: JDK and Gradle”, IntelliJ was configured to use Gradle as tool for launching JabRef. It is also possible to use IntelliJ’s internal build and run system to launch JabRef. Due to IDEA-119280, it is a bit more work.
- Navigate to File > Settings… > Build, Execution, Deployment > Build Tools > Gradle.
- Change the setting “Build and run using:” to “IntelliJ IDEA”.
- Navigate to File > Settings… > Build, Execution, Deployment > Compiler.
- Uncheck
Clear output directory on rebuild. - Navigate to File > Settings… > Build, Execution, Deployment > Compiler > Java Compiler.
- Uncheck
--Use 'release' option for cross-compilation. - Click “OK” to store the preferences and close the dialog.
- Build > Build Project (Ctrl+F9)
- Open the project view (Alt+1, on macOS cmd+1)
- Copy all build resources to the folder of the build classes
- Navigate to the folder
build/resources/main - Right click -> “Open In” -> “Explorer (Finder on macOS)”
- Navigate into directory “main”
- Select the folder
out/production/classes - Right click -> “Open In” -> “Explorer (Finder on macOS)”
- Navigate into directory “classes”
- Now you have two Explorer windows opened. Copy all files and directories from the first one to the second one.
- Navigate to the folder
- Locate the class
Launcher(e.g., by ctrl+N and then typingLauncher). Press Enter to jump to that class.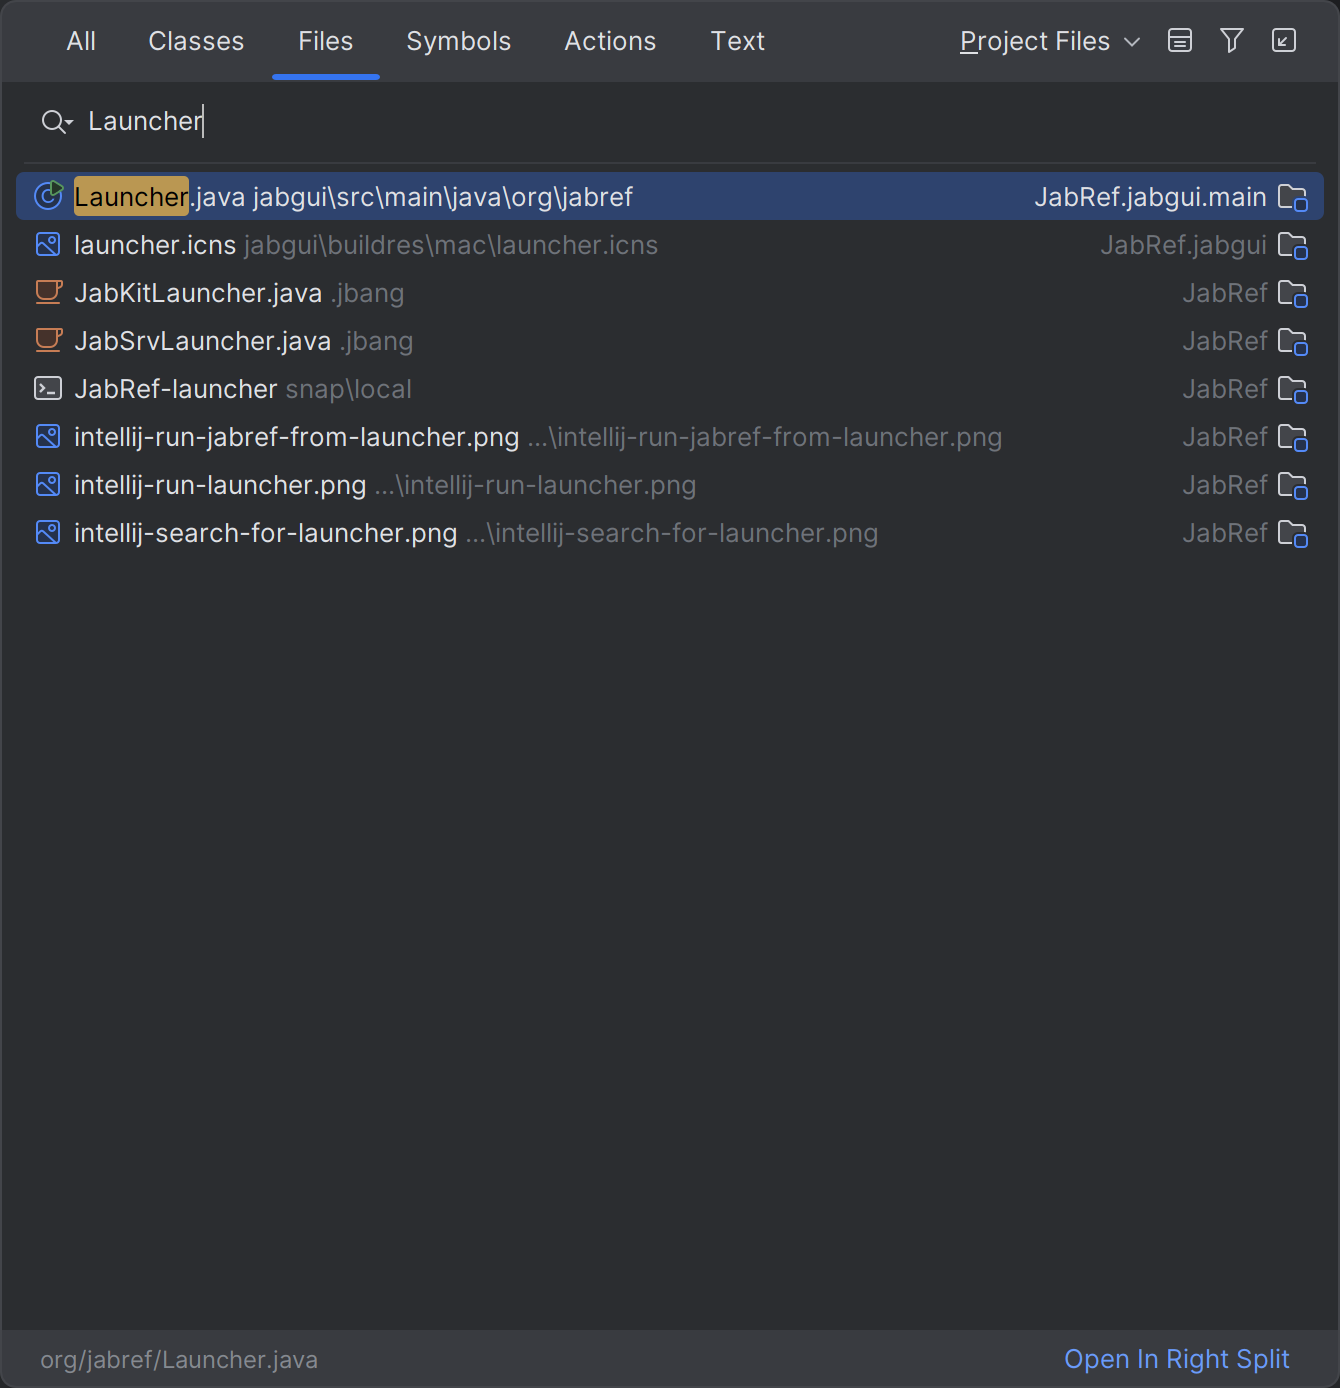
IntelliJ search for class “Launcher” - Click on the green play button next to the
mainmethod to create a Launch configuration. IntelliJ will fail in launching.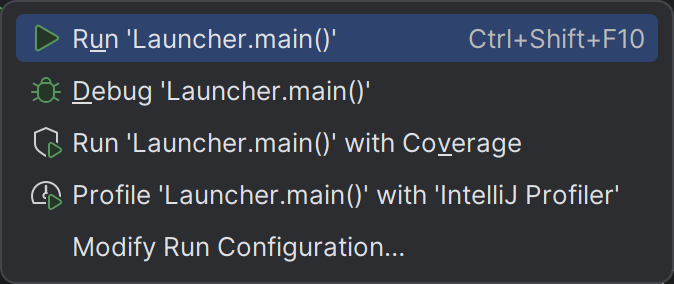
However on green play 
Run JabRef via launcher drop down - On the top right of the IntelliJ window, next to the newly created launch configuration, click on the drop down
- Click on “Edit Configurations…”
- On the right, click on “Modify options”
- Ensure that “Use classpath of module” is checked
- Select “Add VM options”
- In the newly appearing field for VM options, insert:
--add-exports=javafx.controls/com.sun.javafx.scene.control=org.jabref --add-opens=org.controlsfx.controls/org.controlsfx.control.textfield=org.jabref --add-exports=org.controlsfx.controls/impl.org.controlsfx.skin=org.jabref --add-exports javafx.controls/com.sun.javafx.scene.control=org.jabref --add-exports org.controlsfx.controls/impl.org.controlsfx.skin=org.jabref --add-exports javafx.graphics/com.sun.javafx.scene=org.controlsfx.controls --add-opens javafx.graphics/javafx.scene=org.controlsfx.controls --add-exports javafx.graphics/com.sun.javafx.scene.traversal=org.controlsfx.controls --add-exports javafx.graphics/com.sun.javafx.css=org.controlsfx.controls --add-exports javafx.controls/com.sun.javafx.scene.control.behavior=org.controlsfx.controls --add-exports javafx.controls/com.sun.javafx.scene.control=org.controlsfx.controls --add-opens=javafx.controls/javafx.scene.control.skin=org.controlsfx.controls --add-exports javafx.controls/com.sun.javafx.scene.control.inputmap=org.controlsfx.controls --add-exports javafx.base/com.sun.javafx.event=org.controlsfx.controls --add-exports javafx.base/com.sun.javafx.collections=org.controlsfx.controls --add-exports javafx.base/com.sun.javafx.runtime=org.controlsfx.controls --add-exports javafx.web/com.sun.webkit=org.controlsfx.controls --add-exports javafx.graphics/com.sun.javafx.css=org.controlsfx.controls --add-reads org.jabref=org.fxmisc.flowless --add-reads org.jabref=org.apache.commons.csv - Click “Apply”
- Click “Run”. You can also click on the debug symbol next to it to enable stopping at breakpoints.

Launch menu contains “Launcher”